3D Room Design

This slideshow requires JavaScript.

In this lesson we started designing a room to help practice with Maya.

For my room I decided to recreate my bedroom. So far I have created my bed which has a connecting wardrobe and desk. Next I will go on to design my TV and other bits and bobs lying around my room to make it look more realistic and more like my room.

I will spend some time gathering reference pictures of my room so that I can have a good idea on what I need to make.

SPACESHIP Texturing


In this lesson we started texturing my spaceship. to do this we took my UV net of my spaceship put it into photoshop and add the design which I liked. once I had finished and was happy with the texture I put it back into Maya and added it to my spaceship.

I had a few problems with adding the texture onto my spaceship as it was not in line. To fix the problem I put it back into photoshop and put it into the correct place.

Here is some images of what I did:

This slideshow requires JavaScript.

UV Spaceship

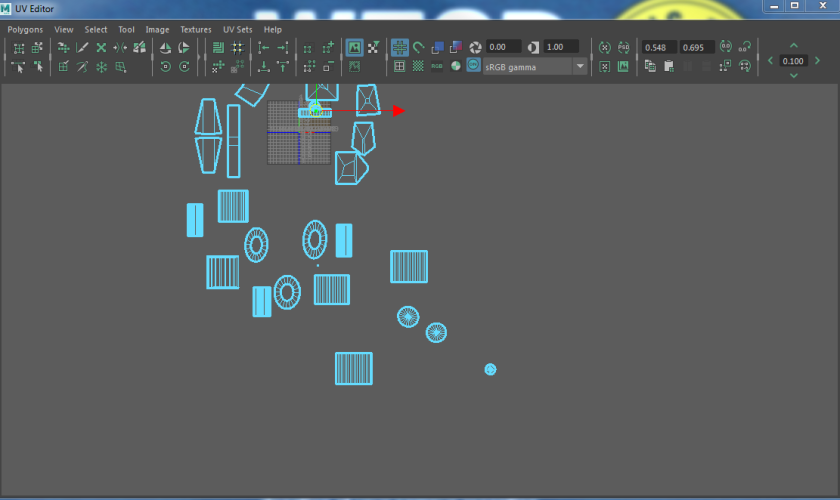
During this lesson we learnt how to uses UV unwrapping which is used to apply 2d textures on a 3D shape.

At first I was struggling with how to work UV Unwrapping but I eventually figured it out and I got the hang of it. At first it was hard but once you know what to do and what buttons to press it is easy.

During this lesson I managed to UV unwrap most of my spaceship and I am going to move on to adding some textures later on.

Here is an image of the UV unwrapped Spaceship:

spaceship UV

VFX- Composition

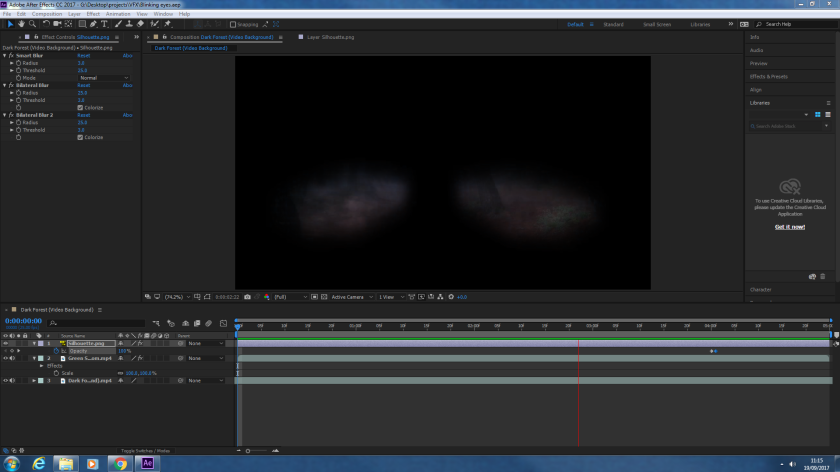
In this lesson we created a VFX Compositon using Adobe A fter Effects.Blinking eyes.PNG

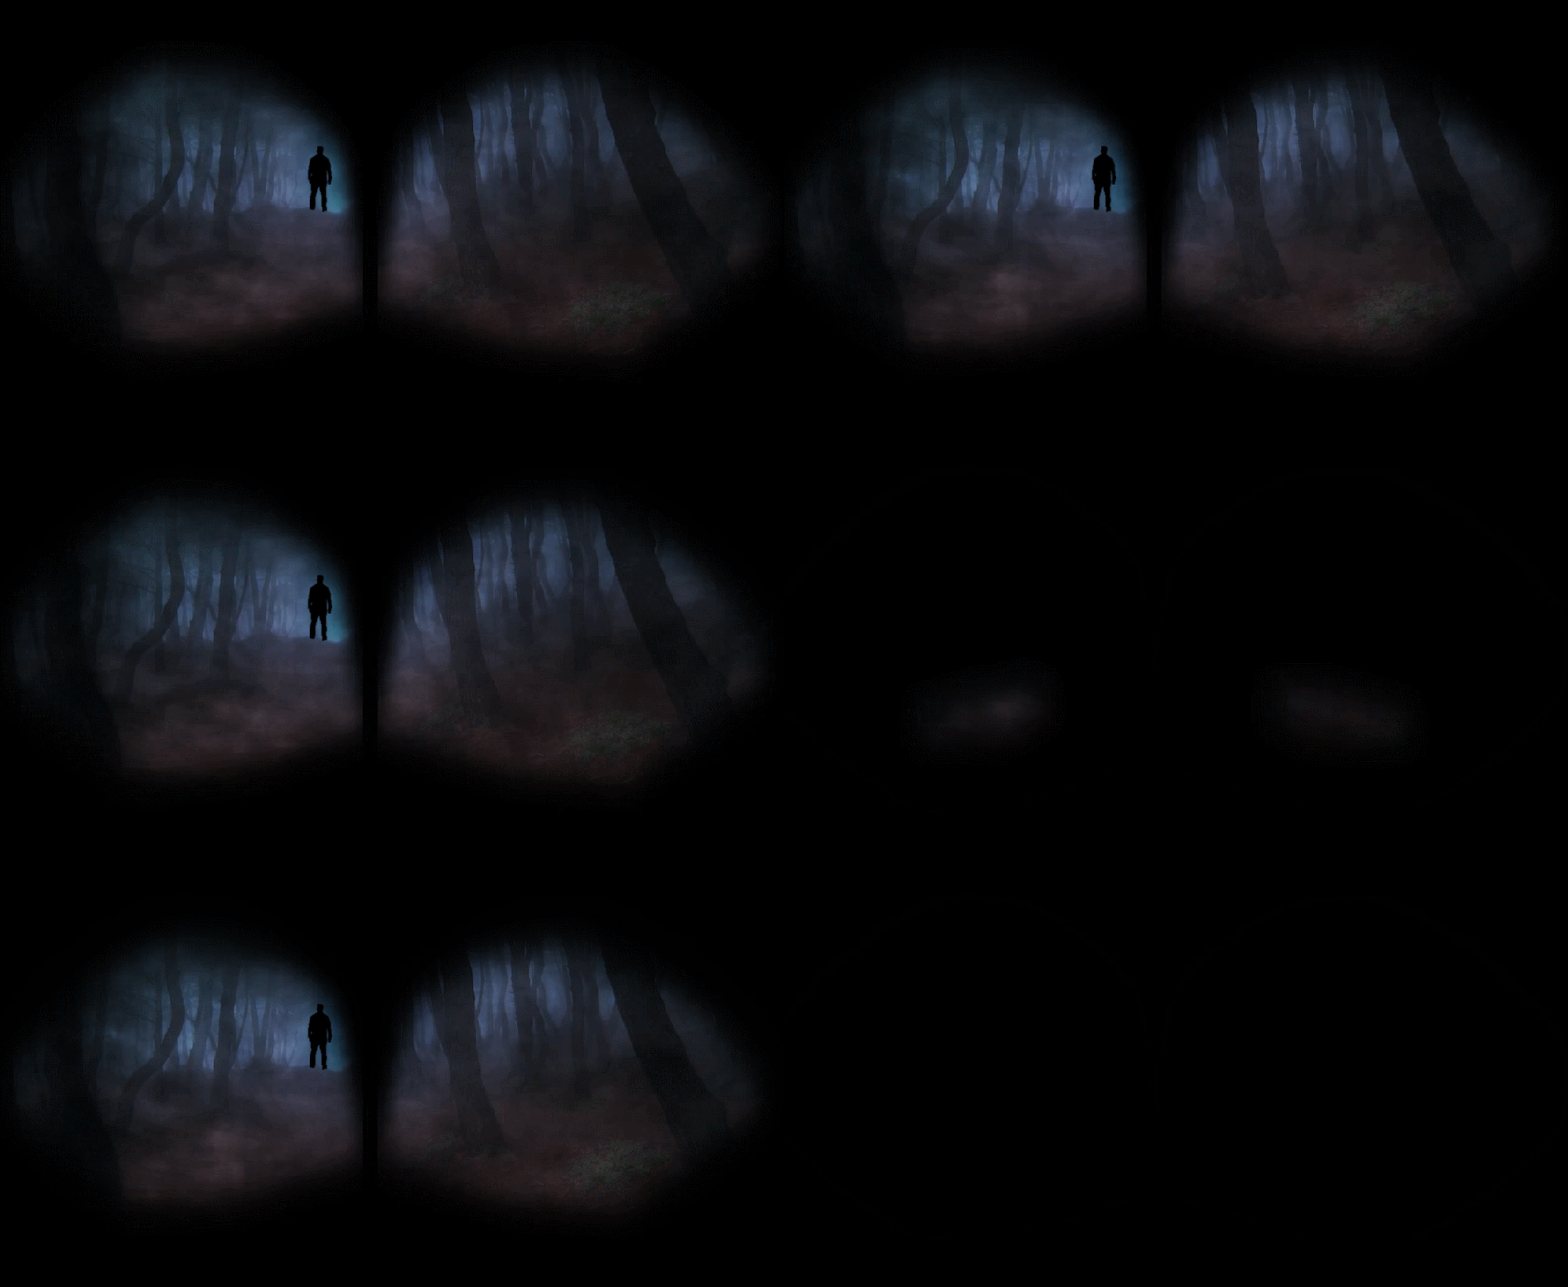
My composition is of a Creepy forest but you are looking through someone elses eyes. Through their eyes you can see a silhouette  of a man, the eyes blink a feew times and then the figure vanishes.

I got a video of a dark forest and the blinking eyes from youtube and the image of the silhouette from goolgle then put them into a composition in After Effects.

Here is the finished product:

GIF blinking eyes.gif

3D Barrels

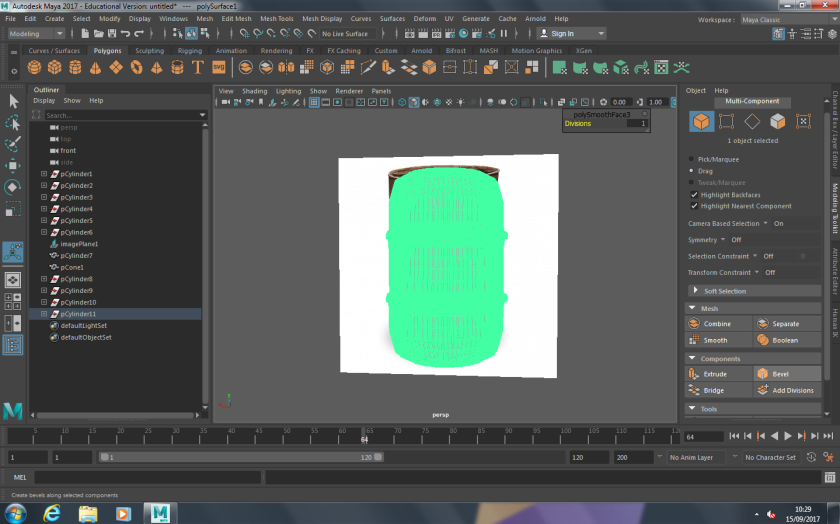
barrel

In this lesson I was making a barrel asset for an alley way. I created the barrel in Maya 3D. To help give me an idea of how to create the barrel I got a picture reference of a barrel from Google and imported it into Maya. I then inserted a cylinder Polygon to be the base shape of my barrel.  I then used Extrude to create the parts of the barrel that come out of it.

I had some trouble using some tools such as the Bevel which is used to move parts of the object, you have created, around to add more detail. Even though I did have trouble with it, I managed to figure out how to use the tool and make my barrel more detailed.

If I have time to come back to my barrel I would at some texture to my barrel to make it look more realistic.

3D Spaceship

spaceship

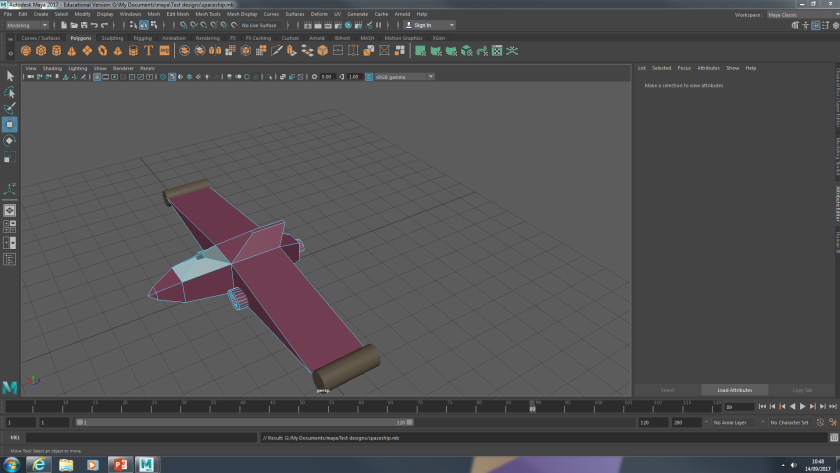
Today we had started practising with Maya 3D modelling. during this lesson we started by messing around with the tools to get used to using the tools, such as merging and resizing.

After a bit of practice we then had to create a stylised spaceship by using the skills we had just learned. From a basic cube I created the spaceship with added cylinders for detail. I then added some Basic colour.

I can later add more detail to make it better.

The Dark Alleyway

This slideshow requires JavaScript.

We have been looking into references for assets to go into a dark alleyway.  This will help give you an idea of what you need in a environment you are designing and also help with ideas of how the assets would look like. Without looking at a reference you could be putting objects into your environment that shouldn’t have there, like a rusted barrel in a clean environment. The same goes with missing out a common object that is always there, like a bin in an alley. If an object was missing or there was an object that doesn’t belong there it would make the environment seem off and weird.

In the pictures above I have circled the assets of the dark alleyways and some of them include dumpsters, rubbish, oil barrels and fire escapes, etc. These are the sort of objects that make up the environment of a dark alley without some of those things it wouldn’t seem like the dark alley.

We also looked into texture and materials. These give the assets more of a look to make them belong more. For example you would texture a wooden pallet to look wet and rotting if it has been outside in a damp place for a long time.

Both these things help in build an environment for a game or animation.

Hey guys!!

This is the post excerpt.

Image result for dreamworks and pixarHi, my name is Georgie-mae Poxton, 16, and I’m currently working on the NextGen collage Course in game design, VFX and animation. Obviously, I like games, cartoons and movies otherwise I wouldn’t be here.

I’m interested in animation in games, films and Tv shows and hope to pursue it as a job. I am also interested in coming up with the story and plot of the games. I hope to work in one of the big film companies such as DreamWorks, PIXAR and Disney, and if not in films work with a game company to animate the game characters.

I hope to get new skills for animating and designs to make me a better animator. I also hope to get lots of experience and examples to make a great portfolio.